Three things to set up: the Server (one machine, holds the queue), a Worker on every PC that should render, and — if you're using render elements — a quick note on how colour correction works under the hood.
Run the installer on one always-on machine and tick Server.
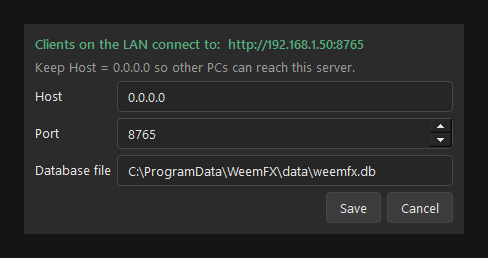
It starts at boot with a tray icon. Right-click it → Settings…
to confirm the Host/Port — leave Host as 0.0.0.0 so other PCs
on your network can reach it, not just this one. The banner at the top shows
the exact address to give your Workers.
Still from the tray icon, click Account… and sign in with the same email/password you use on this website — no separate license file needed. The server won't hand out render jobs until an account with an active WeemFX Farm licence is signed in here, so if you just created your account, you're already covered by the free-beta licence issued automatically at sign-up.
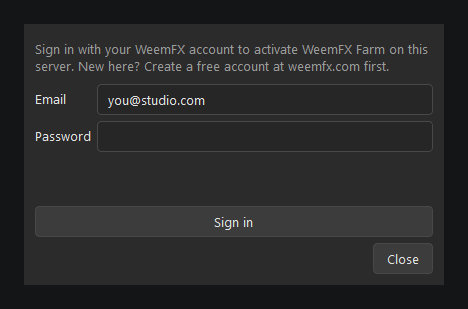
One seat per account — signing in on a second PC will offer to sign the first one out, similar to how Autodesk licensing works. Revoking the licence, or a subscription lapsing, stops the farm within about 30-40 seconds — new jobs stop being handed out and anything already rendering is interrupted, not just left to finish.
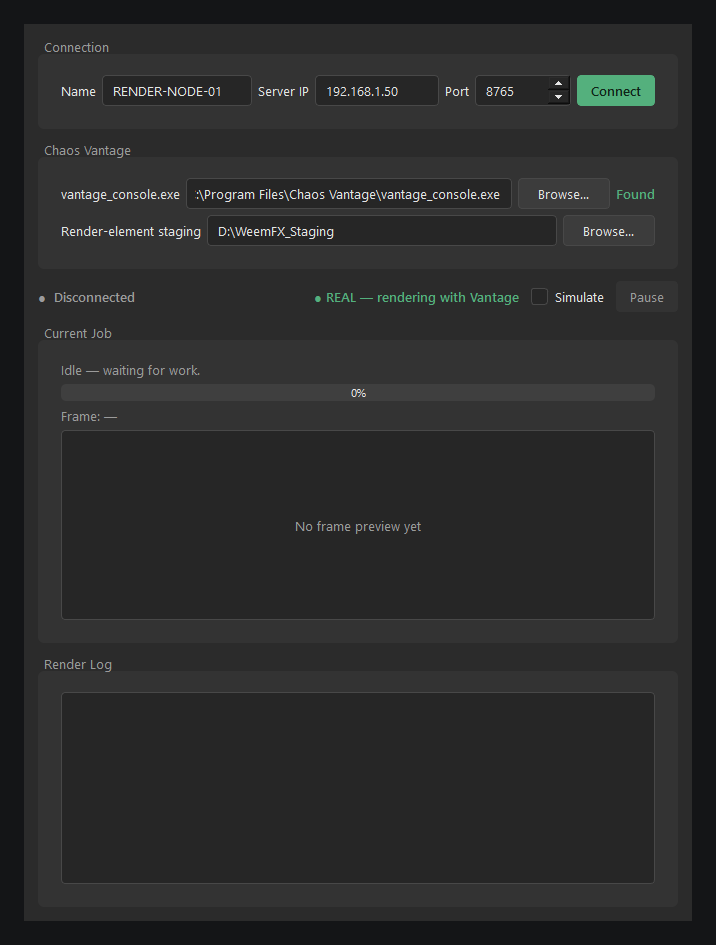
Install the Worker component on every PC that should render. Give it a recognisable Name (shows up in the Monitor's worker list), enter the Server's IP and Port from Step 1, and click Connect. Chaos Vantage's install path is auto-detected — override it only if Vantage is installed somewhere unusual.
If you plan to save render elements (Diffuse, Z-Depth, Cryptomatte, etc. — see Step 3), point Render-element staging at a fast local drive. Elements are extracted from a temporary multichannel EXR written to this folder as each frame finishes, then the EXR is deleted — the final elements land in the job's real output folder. Leave it blank to use the system temp drive, which is fine unless you're short on space there.
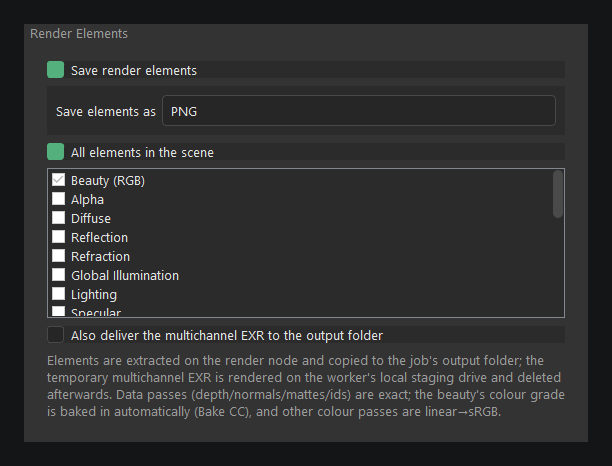
Tick Save render elements in the submit dialog to get Diffuse, Reflection, Z-Depth, Cryptomatte, Normals, and more as separate files alongside (or instead of) the beauty pass.
One thing worth knowing: Chaos Vantage's command-line renderer doesn't bake in your scene's colour grade when it writes EXR files — only when writing PNG/JPG. So a plain EXR export can look flatter and less contrasty than what you saw in the Vantage viewport.
WeemFX fixes this for you automatically. Before rendering the animation, it renders one quick test frame and uses it to build a matching colour LUT — then applies that LUT to every frame's beauty pass, so your output matches what you saw in Vantage. The other passes (Z-Depth, normals, IDs, mattes) are left completely raw, since grading those would break compositing.
Rendering straight to EXR without render elements skips this by default, in case your pipeline specifically wants raw EXR — tick Bake CC in EXR next to the Output field if you want the same automatic colour match applied there too.